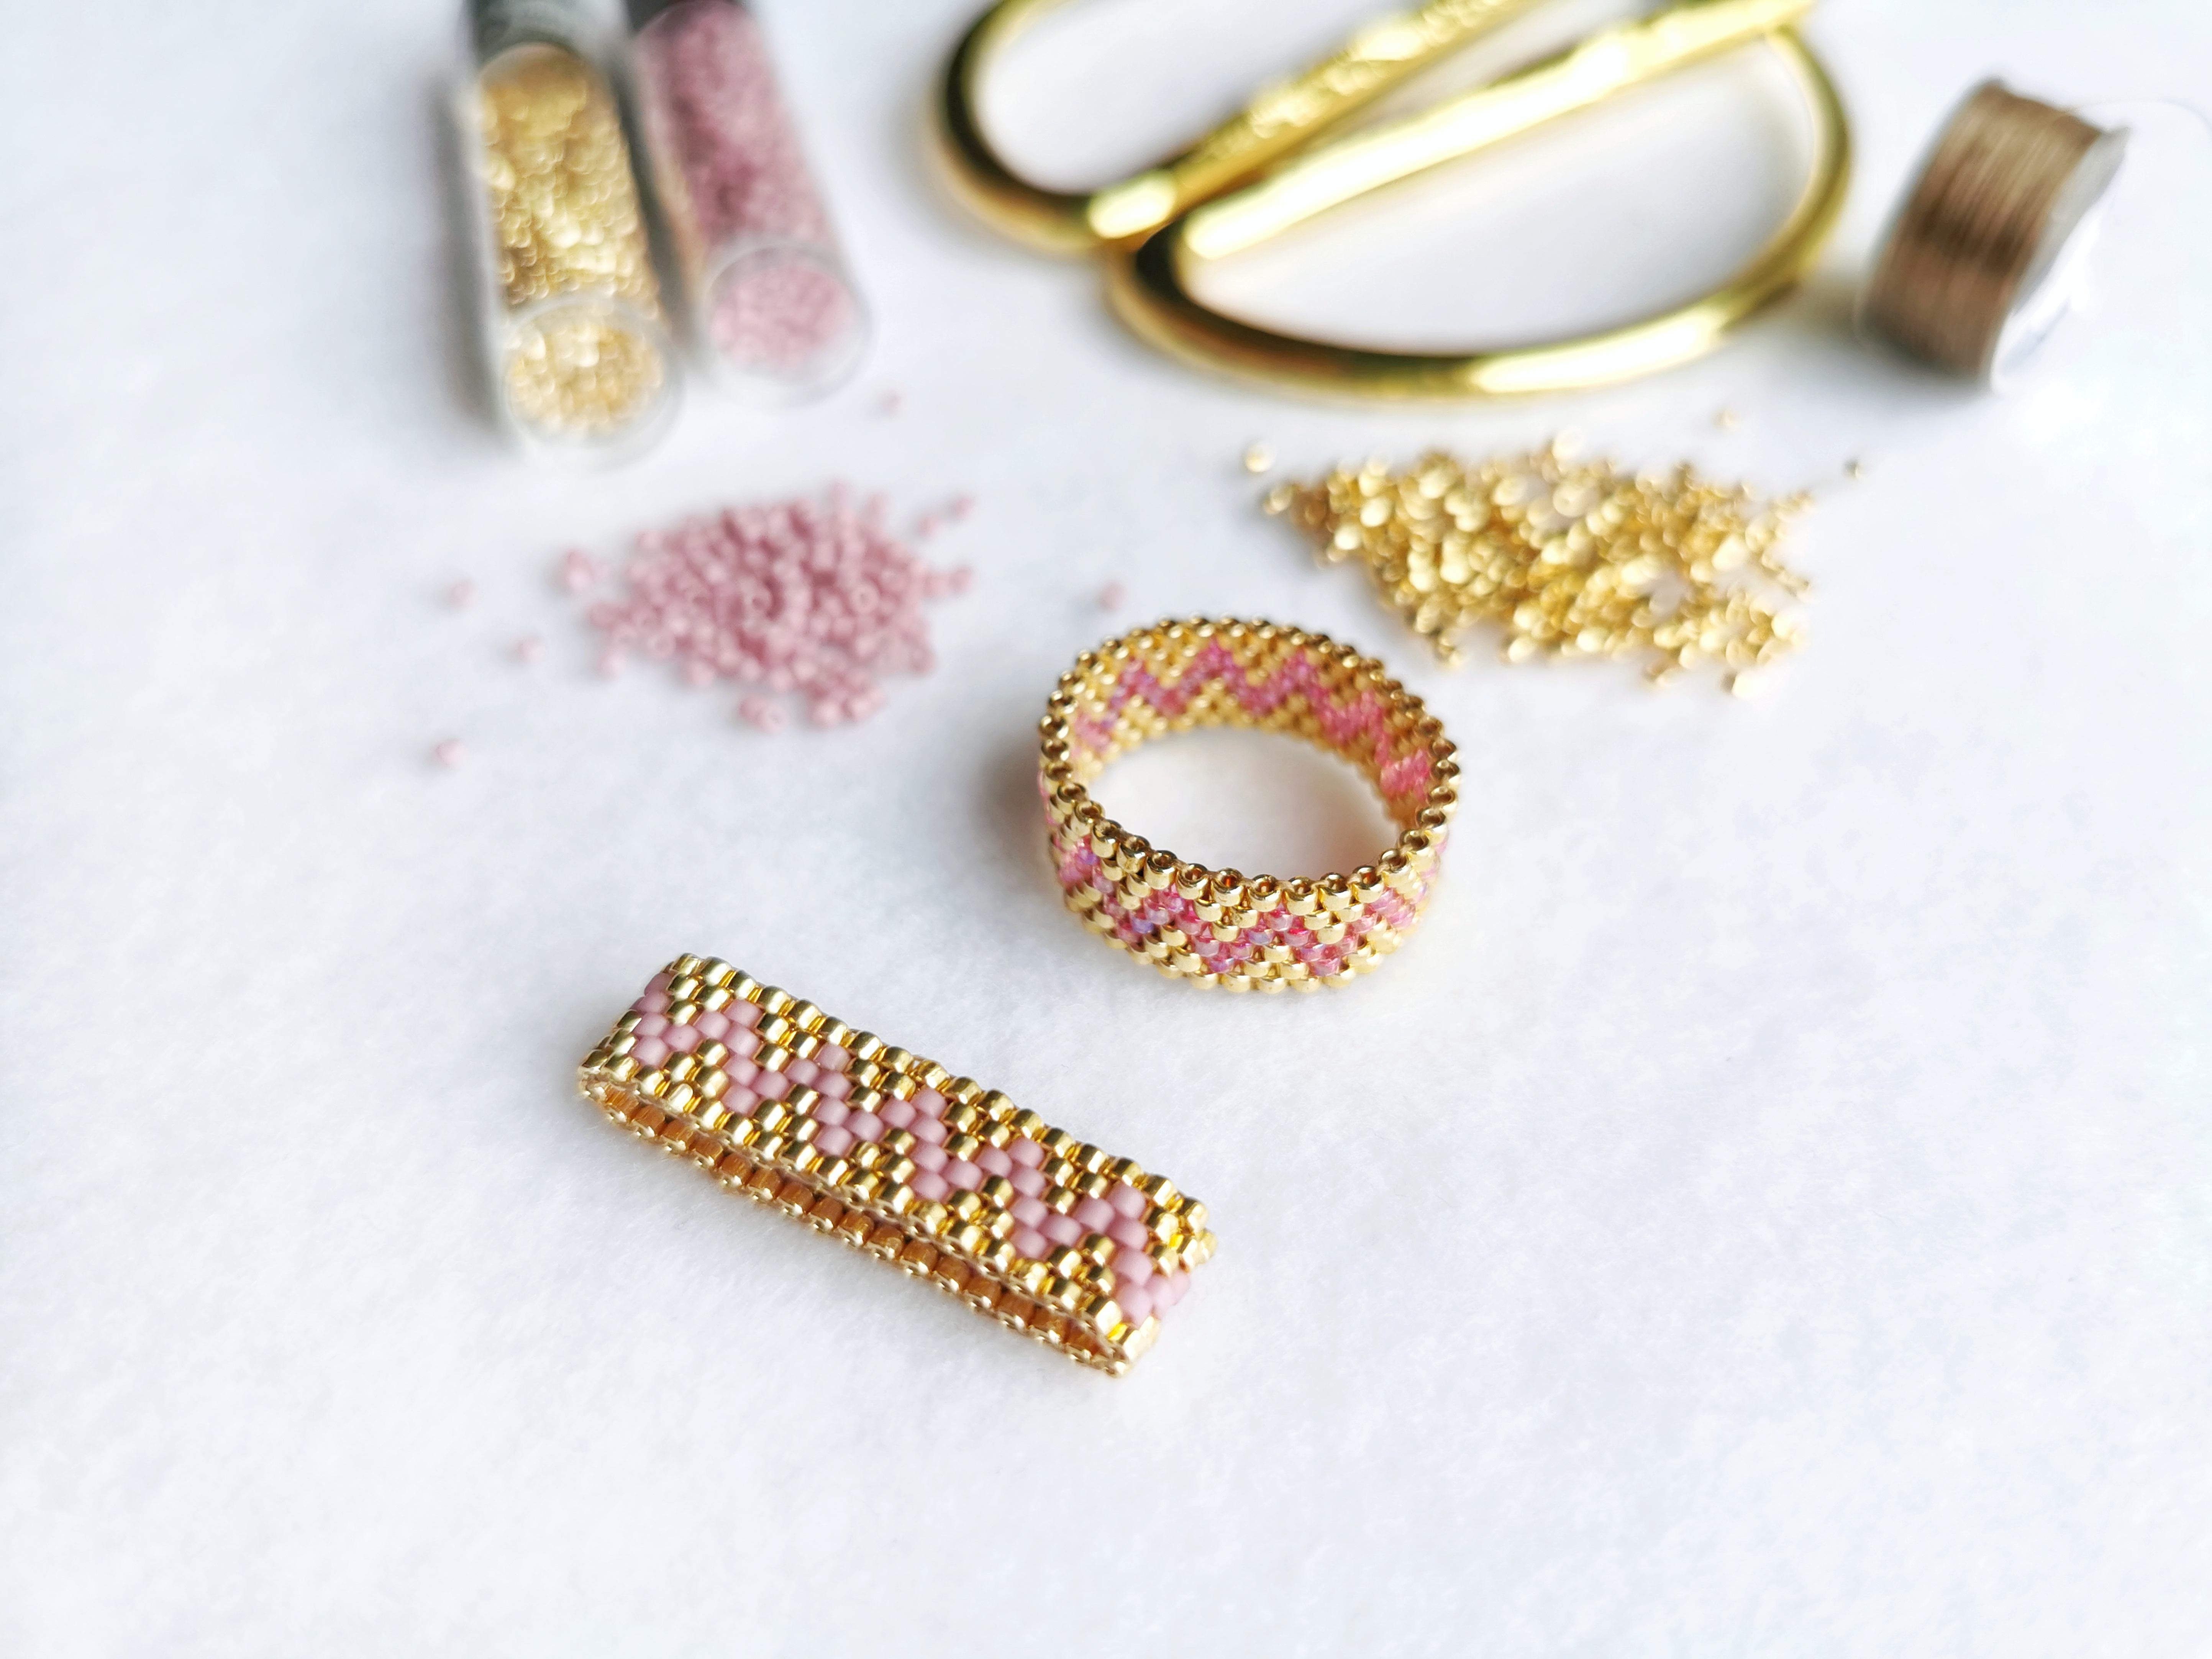
How to Make a Zig Zag Beaded Ring Using Even Count Peyote Stitch

Beaded rings are so fun to wear and they are even more fun to make! Sit down with just two colors of cylindrical seed beads such as Delicas, Treasures or Aikos, some nylon thread and a needle and you can have a brand new seed bead ring in no time!
This project is perfect for beginners who are just learning the basics of beadweaving. You don’t need experience with Peyote stitch to make this zig zag ring design.
Supplies Needed:
1 bobbin of One G Thread
Two different colors of cylindrical seed beads, less than one tube of each needed. Color A is the background color and color B is the color of the zigzag.
Scissors
Optional:
A printout of the pattern to follow along. Click here for the pattern for this zigzag design.
Step 1
Pull about a half wingspan of thread from your bobbin but DO NOT cut your thread. Thread any old bead on your thread and sew back through it so that it is looped into the thread. This is your stopper bead and you will take it off at the end. You can use on of the beads you have ready for this project but if that’s confusing, try using a slightly larger like 8/0 seed bead in a contrasting or vibrant color so you don’t mistake the stopper bead for your project.
Step 2
Consult your pattern and thread your first line of beads in the order called for. In this pattern, you will start with three beads of color A (your background color), two beads of color B and one more of color A.
Step 3
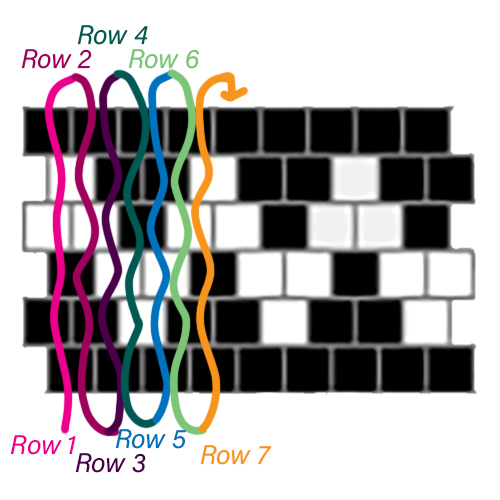
Now you have your first row and you’re ready to start adding beads that will become your second row. Pick up one more color A bead and then sew into the second to last bead from your first row heading back in the opposite direction from your first row. Pull tight and assist that new bead to pop up and nestle right next to the last bead of your first row. Now pick up a color B bead and again you will skip one bead and sew into the next one. Continue like this until you’ve finished your second row. You will notice that each row after the first one only has half the beads of the first row because you are also passing your thread through three beads from the previous row as you build up your peyote stitch. This makes it go super fast!
Step 4
After your second row is completed, you will start row three by once again add another bead of color A and then turn back and sew into the last bead you just added in row 2. As you pull your thread to keep the beads nicely nestled together you will begin to see exactly where your next bead is to go. Peyote stich is sometimes also called stitch in the ditch and that’s because after the second row, it’s easy to see the spot the new beads are going to slot into because there is a space for them. Pay attention to your printed or downloaded beading pattern so that you add the right color bead in the right place to continue the pretty zigzag pattern. Continue beadweaving in this way until you have a nice beaded strip.
Step 5
Measure your strip around your finger to see if it is the right length. Once it is long enough you can finish off the ring by zipping up the two ends of woven beads. First, make sure that you finish with a row that will correspond to your first row, meaning that where a bead is popped up on one side, there is a slot for it on the other side. If it’s not lined up, you will have to add another row to make it line up. Then you will sew together both sides by going through the beads on either side of your strip and pulling tight. The ring will zip up nicely if all the beads are aligned. Head back in the opposite direction to connect the last two beads and strengthen the seam.
Step 6
Weave out your thread by making a loop and knot between the beads before cutting it off. Cut your other side of thread that’s still attached to the bobbin, take off your stopper bead and put a needle on this end of thread and weave it in the same way and you’re done!
Check out our companion step by step video tutorial to follow along if you have any questions about the steps in these project instructions.
Our Blog

Eureka's Silk & Jade Bracelet Beading Kit GIVEAWAY!
It's Christmas in July at Eureka Crystal Beads—and that means sales, deals, and—yes—gifts! To celebr...

What's in the Stained Glass Collection? Explore Eureka's July 2026 Beading Kit!
Color, History, and Extraordinary Craftsmanship in Our July 2026 Collection There are palettes that...

What's in the Mocha Latte Collection LITE?
Close your eyes and picture your favorite corner of your favorite coffee shop. The worn wood surface...